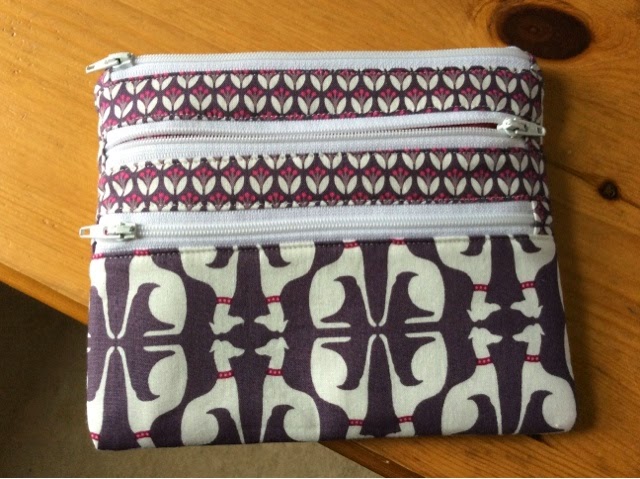
I always put zips in the backs of my cushions as I feel it finishes them off really neatly, and I don't get the gaping issue that sometimes happens with an envelope back.
I've got a really straightforward method for putting a zip into the backing fabric for your cushion so thought I would share it with you. As with all things though, what's simple and fairly quick when I'm doing it, becomes a lot more confusing when I'm trying to explain it. I've included lots of pictures which will hopefully help to make it clear, (although as I was making a white cushion back with white thread and a white zip it wasn't ideal) but if you have any queries then just ask.
What you need:
Your cushion front.
A piece of fabric for your cushion back, a bit bigger than your cushion front.
A long zip (I use about a 14" zip for a 16" square cushion).
1. Measure your cushion front. Add one inch to the measurement for one side, and three inches to the measurement for the other, and cut your backing fabric to that size, eg if you have a 16" x 16" cushion, cut your backing fabric to 17" x 19"; for an 18" x 18" cushion, cut 19" x 21" etc.
2. Turn your fabric so that the "long" edge (ie the edge you added three inches to the measurement for) is vertical. Fold approximately the top third of the fabric down, and iron in a crease.
3. Take the flap you have just folded down, fold it back up about 1" from your first fold, and iron in a second crease, so it looks like the pictures below. Fold the flap back down again, and your fabric should look like the photo above, but with a crease ironed in about 1" from the top.
4. Sew about 2-3 inches (depending on your cushion and zip sizes) inwards from each edge along the crease you made in step 3. The gap between the two lines of stitching should be a bit shorter than your zip.
5. Cut all the way along the fold at the top of the fabric, just above your lines of stitching - this is along the crease you made in step 2.
6. Iron the seams you have just sewn (and cut) open, but iron along the whole width of the fabric (including the part in the middle that wasn't sewn). If you lay your fabric down the right way up, it should have a slit running across, about a third of the way down from the top.
7. Lay your zip, zip-pull side up, on the table. Put your backing fabric
right side up over the zip, so that the zip appears through the slit, and pin the zip in place (at least at one end). Using the zip foot on your machine, you now need to sew a box around the slit, about 1/4"-1/8" away from the edge of the fabric, over the zip, locking it in place. I tend to pin the zip at one end, and then just keep moving it into place (lining the centre of the zip up with the edge of the fabric) as I sew down one side of it. When you come up against the zip-pull, you may need to stop and lift your sewing machine foot to slide the zip-pull out of the way.
Once I've gone down one side I turn, sew across the end of the zip, then turn and sew up the other side. When going up the second side of the zip, I pull the fabric over the zip so that it overlaps with the fabric on the other side very slightly (as in the photo below) - this makes sure that the fabric on the two sides of the zip butts up against each other and makes the zip almost invisible.
And voila! You have a backing for your cushion with a zip ready installed. Open your zip at least halfway, pin the backing right sides together with your cushion top (it will be slightly too big) and sew round the edges of your cushion top. Trim any excess backing fabric off, turn the cushion the right way round (through the zip) and insert your cushion pad.
The final step is, of course, to annoy everyone in your house by making large numbers of cushions, but I take no responsibility for that.
I hope you enjoy the tutorial, let me know if you have any issues!