Showing posts with label blanket. Show all posts

Monday, 5 January 2015

WIP - Crochet Rainbow Blanket

I like to have a crochet project on the go, something simple that I can pick up and put down easily - normally done when I'm stuck in the car for a while with a sleeping child in the back seat.

This is my current project - more rainbows


It's basically a giant granny square, with each row a different colour.  It's not a true rainbow - the indigo and violet are more like purple and pink, but it's bright and colourful and that'll do.  There is going to be a lot of sewing in of ends of threads when I've finished (not my favourite part!), but it'll be worth it.


The wool was leftover from a rainbow blanket I recently made for a friend who had a new baby.  I had a lot of wool left, so decided to just work it up into a second blanket, ready for whenever it is needed.  There's not too much left to do now - I think a couple more rows and a border and then it'll be time to block it :)

Linking up to WIP Wednesdays at Freshly Pieced!

Thursday, 1 January 2015

Happy New Year!

HAPPY NEW YEAR!!!  

Hope you've been enjoying celebrating :)  While I am not a fan of making new years resolutions as such, I do find it a good time of year to take stock of where I am up to in my crafting world.

To start the new year off, I've written a list of all my WIPs, all the projects I have fabric for but haven't started, and a wish list.  Some of the ones currently in progress have been in progress for an embarrassing length of time, we are talking a decade in at least one case, but hopefully I will get there eventually!  The aim for the next few months is to try and shrink this list, and attempt not to add to it too much faster than I'm working through it... 

In progress, with how long it's been in progress for (I'll add links over time as I blog about each project):

Long knitted cardigan (about 7 years)
Big cross stitch picture (about 10 years)
Teddy bear (about 15 years...)
Star quilt (since Sept 2014)
Purple squares quilt (since July 2014)
A cushion made with leftover flea market fancy scraps from my HST quilt (since July 2013)
Rainbow crochet blanket (since June 2014)

Have fabric for

The fourth Wren and Friends cushion
Flea market fancy fabric in red/yellow/grey, I think this will be a quilt, maybe a churn dash quilt...
Some russian doll fabric I'd love to make a bag out of.
Fishy wall hanging for my sister
A cushion to go with my sister's wedding quilt
T shirts for myself, hubby and my son

Dreaming of

Another heirloom cut chenille blanket
A sew together bag for myself
A weekend bag and washbag for hubby
Some more dressmaking

I'm also hoping to make plenty more soap!

Wish me luck...

Wednesday, 10 December 2014

Around the House 5 - HST quilt

I've never named my quilts, but this one probably does deserve a slightly better title than "HST quilt".  It could be "my favourite quilt ever", or "I just love this quilt", because I do.  Before I made this quilt I had used half-square triangles not very successfully on a couple of cushions, but for this quilt I took my time, trimmed all the squares, and was over the moon with how it came out.


I bought the fabric in this quilt just because I loved it.  I had kept popping in and out of the shop over a couple of weeks, trying to justify to myself why I could buy it or what I could make with it.  In the end, I just bought half a metre of each of the patterned fabrics and then started to muse on quilt designs.

The finished quilt looks absolutely nothing like my first idea.

My first idea was to make a sort of pixellated explosion starting in a bottom corner of the quilt, and moving diagonally across it.  I don't think I've explained it very well and I'm not sure I can describe it better - I will just have to actually make that design at some point and show you!


However, on musing over the fabric, I started to feel that half-square triangles were the way to go.  I bought some of my favourite patterned white background fabric - you can just about see the swirly flower pattern in the picture below (I absolutely adore this fabric, but the price prohibits me using it in more quilts), and started making the blocks.  I cut 6.5" squares to start with, and the finished blocks are 5.5".  I like to cut my squares a bit bigger than necessary for these so that if my seam allowances are slightly dodgy I can still trim them nicely to the right size.  Once I'd made a good pile, I began playing with a layout on the floor, and finally settled on this diamond pattern.


When it was finished, I hand quilted it about a centimetre on each side of each seam.  It took ages, but I was off work waiting for my baby to arrive, so had nothing else to do but whale around the house, watch daytime TV and handstitch this quilt.  I do really enjoy hand quilting - there is something very therapeutic about taking so much time over something.  You can't rush it, you just have to be there, and really enjoy the process.  It's quite an antidote to machine quilting where I sometimes feel under pressure to get it finished as soon as possible.


I backed it in a dark blue fabric spliced with a strip of the flea market fancy pink spots.  Because of the off-white thread I used for quilting, you can see the quilting design really clearly on the back which I love.


I bound it in some more of the pink spotty fabric - it's quite a wide binding, done at the time because I didn't know how to do a nice narrow binding, but actually I think the small white border and wide binding really frame the quilt nicely.


This is definitely one of my favourite curling up in front of the TV quilts, it makes me smile every time I look at it!

Friday, 28 November 2014

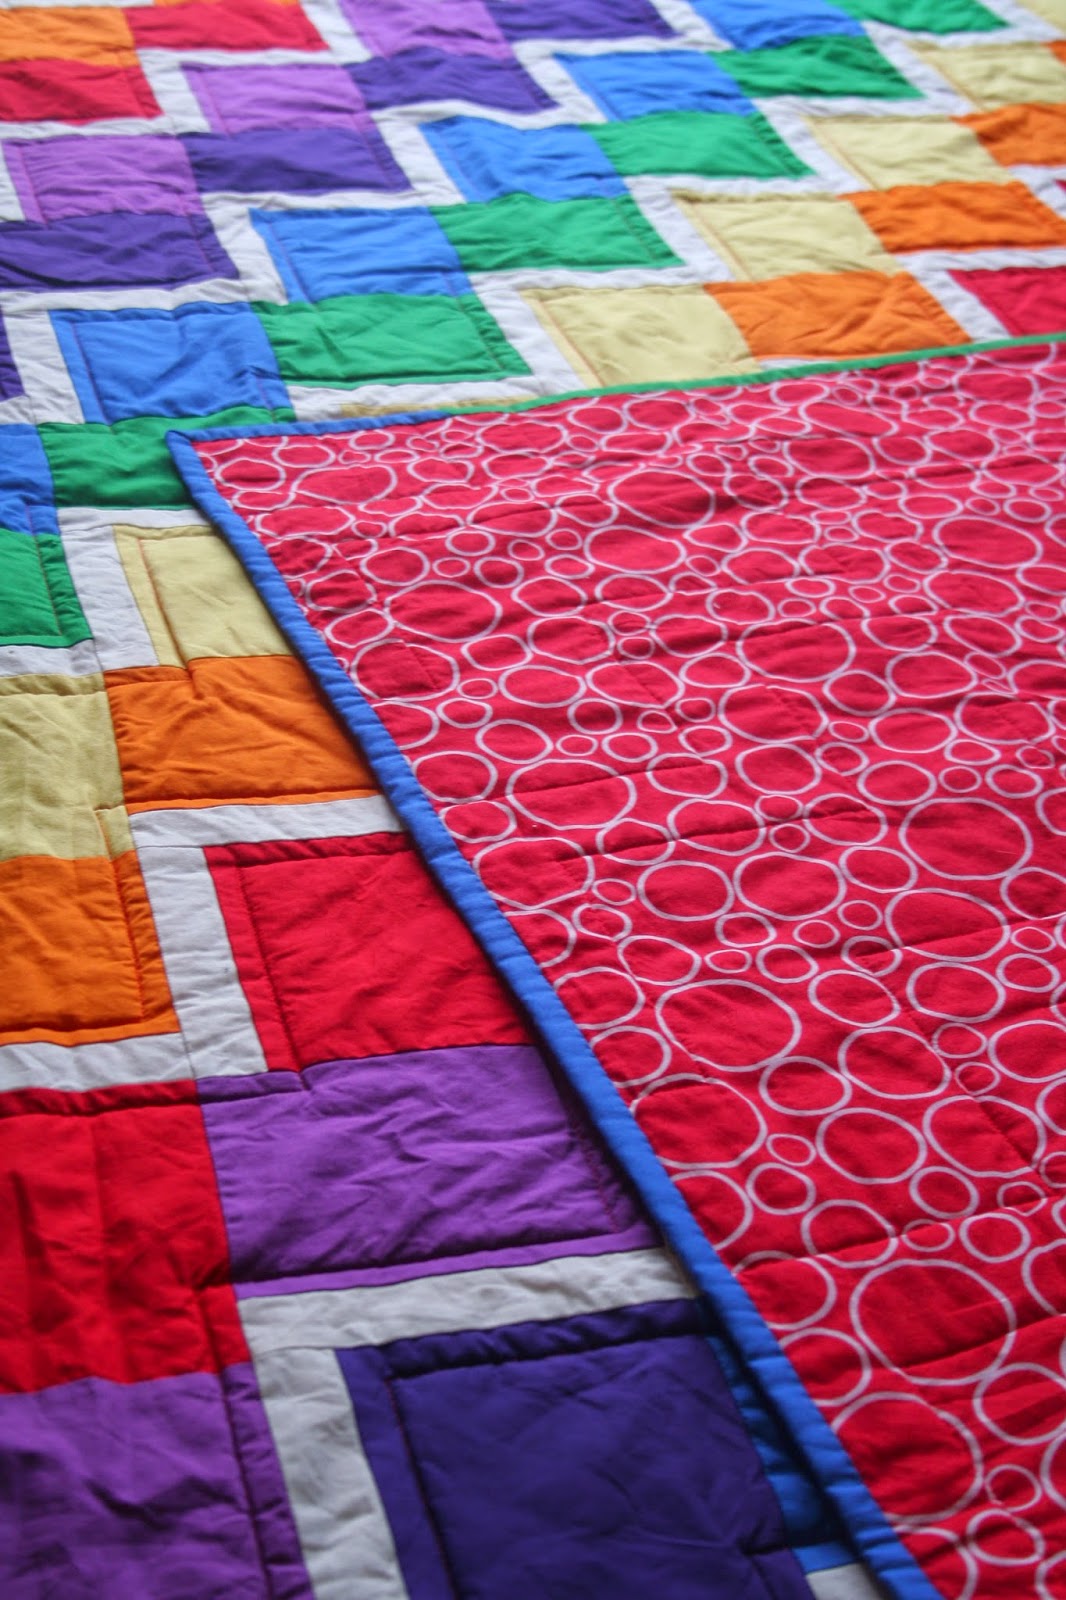
Rainbow Quilt DONE!

It's done it's done, my rainbow quilt is done!


I am so pleased with how this has turned out!  It's a bit wrinkly at the moment as I left it in the tumble dryer slightly long and the creases set, but they'll come out next time it gets washed (which, given it's my son's quilt I'm sure won't be long).


I quilted it in zig-zags, and have bound it in scraps of the green, blue, indigo and violet fabric.


This was going to be one of his Christmas presents, but I've already got him a few other presents and he's too little to really understand the idea of Christmas anyway, so I've decided to give it to him early.  I think a few games of hide and seek and a bit of tent building will be the order of the day!

Linking up to Crazymomquilts, Confessions of a Fabric AddictFreedom Fridays and TGIFF.

Wednesday, 26 November 2014

Around the House 3 - Wall Hanging

Continuing my roam around the house...

I always wondered how much use pre-cuts (charm packs, jelly rolls etc) actually were, and what you could really make with that little stack of squares or strips.  Finally I decided that the only way to find out was to have a go, so I bought two charm packs - a PB & J by Basic Grey for Moda one, and a wren and friends by Gina Martin for Moda one.  I turned the pb&j one into an awesome wall hanging, and the wren and friends one has become a series of cushions (I'll write about those in another post).


I put the charm squares together in fours, and then arranged them on point alternating with squares of a creamy coloured cotton (nothing special, just the standard plain cotton from my local shop).  I quilted it using an orange peel pattern following this tutorial over at petitdesignco.  I'm not very well practised with free motion quilting, so loved this method of doing the orange peel quilting as I could use a walking foot.  It's really simple to do, but so effective.


I also quilted in the ditch along the edges of the large squares - that's visible from the back but you can't really see it from the front.  It's backed in the same creamy cotton as I used for the background on the front, and I bought some extra yardage of one of the charm square fabrics for the binding.


I'd always intended this to be a wall hanging, so during construction I added a couple of pockets to the top corners so that it would be easy to hang using a bamboo cane.

This was a fun project as it was contained quite a few firsts for me:

  • my first charm square project
  • my first time doing orange peel quilting
  • my first time doing this folded binding, following Amanda Jean's tutorial over at crazymomquilts- I have done it ever since as it gives a lovely narrow binding and a neat finish 
  • my first time doing a quilt on point
It was great trying out so many new techniques, and I was so pleased with the outcome.  It's now hanging on our study wall, to brighten up my day when I'm working :)

Thursday, 20 November 2014

Around the House 2 - Butterflies

When you see a fabric that you absolutely adore, but it won't do for clothes and you can't stand to cut it up small for patchwork?  Heirloom chenille blanket from Anneliese over at Aesthetic nest to the rescue.  This lap/baby sized quilt lets you showcase over a metre of fabulous fabric, seeing the full effect of the design.  The piece of fabric I used for this quilt was 1.25m x width of fabric (44 inch fabric), so the finished quilt is just a bit smaller than that.

I have made two of these now, and this was the first one that I made.  I love this butterfly fabric, it's so happy, and it makes me smile every time I see it.


The tutorial for this blanket is really good.  I did invest in the proper chenille cutter in order to cut the back - although possible to do it with scissors I think it would take a huge amount of time, and be difficult to get the cuts looking even.  

This blanket lives on our sofa in the lounge, and is lovely to snuggle up with in an evening.  Doing the quilting on it does take a while - the lines are about half an inch apart - and it uses up a lot of thread, but it is so worth it.  One nice thing about the quilting though is that you don't need to worry if your lines of stitching seem to pull against each other (so the fabric goes wrinkly between the stitching lines).  When you cut the back all of the tension in the fabric is released and your wrinkles will vanish :)  


Also, there is no need to panic if your lines don't stay totally straight.  I drew a line with a ruler for the first line of stitching, and then just worked off that for the rest.  If it looked like my stitching was getting a bit bendy then I did make an effort to straighten it up, but you really don't notice a few wobbles or slight curves in the finished quilt.


The second time I made this I didn't round the corners off, largely so that I could use straight binding rather than bias binding.  I think it looks great either way, just personal preference!

One of the lovely things about this blanket is that it just gets better with washing.  Every time it goes through the washer the chenille fluffs up a bit more, and it gets a bit more cuddly.  I can see another one of these on my horizon soon...